
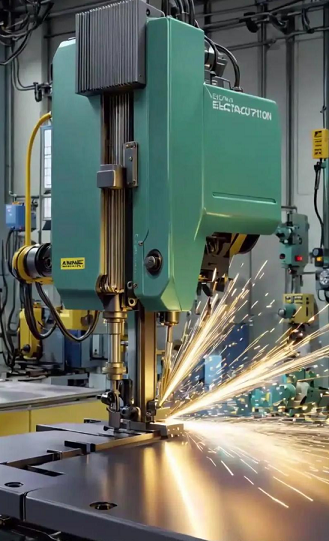
Replacing the molybdenum wire in a CNC wire EDM machine is a crucial step in equipment maintenance. Here are the detailed replacement steps:
First, ensure the power to the CNC wire EDM machine is switched off for safe operation.
Inspect the condition of the current molybdenum wire, noting any wear, breakage, or other damage. Replace it promptly to avoid affecting cutting results.
Carefully remove the old molybdenum wire using professional tools, ensuring no damage to the equipment during the process.
Clean the work area, ensuring no debris remains, creating a favorable environment for installing the new molybdenum wire.
Correctly insert the new molybdenum wire into the cutting head, ensuring the clamping device is secure to maintain the stability of the cutting line.
Adjust the molybdenum wire tension according to the equipment instructions, ensuring it is neither too tight nor too loose for optimal cutting results.
Secure the new molybdenum wire using the clamping device, ensuring its stability during cutting.
Check the molybdenum wire guide to ensure it is correctly guided and free from twisting or jamming, guaranteeing cutting accuracy.
After confirming the cutting wire is correctly installed, close the clamping device to ensure the electrode wire is securely clamped in the cutting head.
Finally, turn the CNC wire cutting machine back on to prepare for the next cutting operation.
Please note that when changing the molybdenum wire, always refer to the equipment user manual or manufacturer’s guidelines, as specific steps may vary depending on the equipment model. Maintaining equipment cleanliness and regular maintenance are also crucial for ensuring the proper functioning of the molybdenum wire.
Post time: Mar-25-2026